This page gives details on the widget that is in the “System” subsection. The wiget can be accessed by customizing the XCTrack Pro pages pre-installed on AIR³. Remember that your customisations will be lost if you reset XCTrack Pro interface with AIR³ Manager, if you change the profile (Kiss, Easy, Expert, Paramotor) or if you load a different configuration file ‘xcfg’.
Click on the + sign to read the details.
The status line is divided into 5 sections: GPS status, External sensor status, Livetracking & Electronic Conspicuity status, Battery status, time.
![]()
AIR³ has its own internal GPS and barometer sensors. AIR³+ also contains an internal Fanet and Flarm module. It doesn’t require any external sensor. By default, you won’t see any external sensor logo unless you want to use another one. For example, you can use XC Guide as TCP sensor to let XC Guide provide XCTrack with various data such as commercial aircrafts ADS-B traffic. Read more details in the following page describing the specificities of XC Guide for AIR³.
If you want to do so, go to Menu/Preferences/Connection & Sensors/ and configure it as appropriate (Bluetooth sensor, USB sensor, UDP server or TCP client connection).
Depending on the statuts of such external connection, you may see a logo such as the following one indicating that you are trying to get GPS location through an external sensor via Bluetooth.
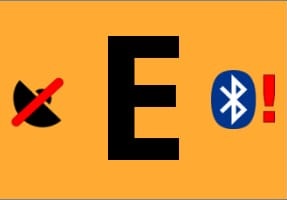
If you activate the Fanet and Flarm module with AIR³+, you will see the Fanet+ Logo.

As of version 0.9.6.2, you can set multiple external sensors. You can check that each sensor is correctly working by looking at the status line widget.
This is for example what you can see if you have set a TCP connection, activated the Fanet and flarm module and have set a Bluetooth connection.

In the configuration menu, you can set if you want the label “Live” to display next to the logo and set if you want to display the time.
Time in the status widget shows the local time only if there is no gps signal and it’s marked as being in error state: the background is orange. As soon as gps time is available, the GPS time is shown without the orange background as it is the case for the “Time” widget in the Flying subsection.
So, if time in status line widget has orange background, it is the local time. If there is no orange background, it’s gps time, adjusted to the local time zone.

Removing the “Live” label:
![]()
Removing the time and keeping the “Live” Label:
![]()
1/ GPS status

GPS not available. For example if location is turned off in Android system.

No GPS signal

GPS signal OK, not flying
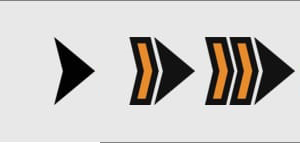
GPS signal OK, flying. The tracklog is recorded.
Last 3 states can be displayed with E letter in case you are using AIR³ with an external GPS.
2/ Livetracking and Electronic Conspicuity status
Livetracking
Nothing will be displayed if Livetracking is not enabled. Read more details how to enable Livetracking in Menu/Preferences/Livetracking.
You can see different logos depending on the situation:
○ waiting for gps/connection
⬤ gps + connection are ok
!○ connection has been disconnected (minutes of delay is shown)
◍ connecting
⬤⇅ data is transferred right now
✔ landing is acknowledged
The full circles is green when flying.
Error states !○ and ◍ (if connecting while being offline) are red.
All error states in status bar have an orange background.
Here are some examples:
Livetracking disabled
Livetracking enabled but no connection available
Livetracking enabled, connection OK, landed.
Livetracking enabled, connection OK, GPS OK, waiting for take off

Livetracking OK while flying
Electronic Conspicuity
Nothing will be displayed if !”Send position to Safesky” is not enabled. Read more details how to enable Electronic Conspicuity in Menu/Preferences/Livetracking.
You can see different logos depending on the situation:

Safesky not set properly (Not logged into XContest nor used in anonymous mode).
Note that XCTrack also checks if there is traffic around to determine if Safesky is correctly set. In rare case, you could get an exclamation mark while Safesky is correctly set just because there is no traffic around. To make sure you are not facing such situation, you may check the Safesky map if there is traffic around you.

Safesky waiting for takeoff

Safesky OK while flying

Position sharing is disabled (until restart of XCTrack or until flight)
3/ Trackers
Once you are “live”, you can also see another symbol: ![]() followed by a number.
followed by a number.
This is happening when you are tracked by someone.
The number corresponds to the count of people who are tracking you in other xctrack apps plus the number of people who clicked on your flight on the web.
3 persons are tracking you
4/ External sensors and Fanet/Flarm module
Once you have activated the Fanet and Flarm module of AIR³ 7.3+, you can also see the Fanet+ logo.

Check more details about the internal Fanet/Flarm module as explained in the Preferences page of the XCTrack Pro Manual.
Depending on the external sensor actvivated, you will see the logo of the external sensor activated.

The Brightness of the display widget shows current brightness of the display.

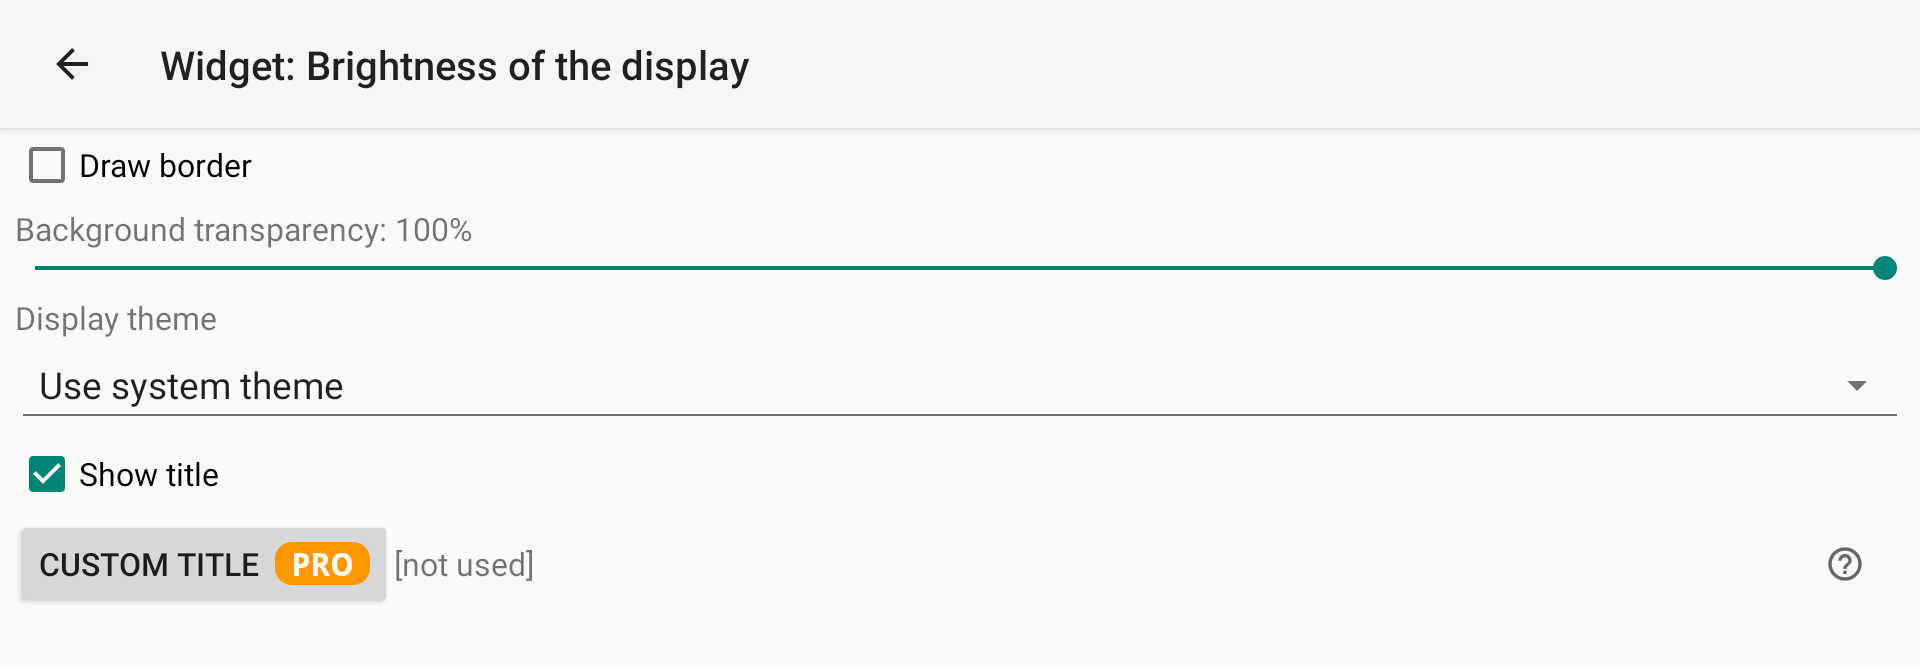
If the brightness is set by XCTrack, the ! suffix is added.

If the brightness is set by the system, there is no ! suffix.

The level of brightness has a direct influence on both readability and energy consumption and therefore autonomy. If the brightness is set to its maximum, the energy consumption will be maximum and the autonomy minimum.
Getting a clear indication on the brigthness level can be key to manage ideally the remaining energy of the battery.
Most smartphones or tablets have low screen brightness. This means that the pilots set the brightness to its maximum, without really having good readability. So pilots are used to set brightness to maximum, whatever is the readabitility.
With AIR³, you have to see things differently. The maximum screen brightness can be very high, higher than really needed. Who can do the most can do the least … but the opposite is not true.
First of all, remember that the best readability is obtained by having your look perpendicular to the screen. So no need for maximum brightness most of the time.
Using maximum brightness all the time is like driving a powerful car with full throttle and using the handbrake to slow down most of the time.
There are 2 ways to manually increase the brightness when needed with XCTrack Pro: use the on-screen brightness + widget or use one of the available physical buttons.
AIR³ has been greatly improved in terms of brightness management, to increase readability and therefore autonomy. At any time while XCTrack Pro is running, press the button or the brightness + widget to increase the brightness by 10%.
Once the pilot increases the brightness with the button or the widget, the brightness level is”Overridden” by XCTrack. That overridden brigthness value will be maintained until XCTrack sets backlight to normal intensity. Once XCTrack overrides the system brightness, (!) is displayed next to the value. If XCTrack can not determine the brightness value, (?) is displayed.
XCTrack Pro shipped with AIR³ has been configured to return to the system brightness level periodically through various events, setting the backlight to normal intensity.
AIR³ has an interesting feature: “Adaptive Brightness” which was not available with AIR³ 7.2. By activating this Android feature, the system calculates the ideal brightness based on the lighting conditions. With strong light environment, the system increases the brightness level. In a more shaded environment, the system decreases the brightness level.
So whenever XCTrack Pro sets the backlight to normal intensity, the brightness level will be calculated by the system and will be modified, mostly reduced, compared with a setting with a all time maximum brightness.
In other words, with AIR³ 7.2, we recommend setting the brightness to 60%. Whenever you feel the need to increase readability, tap the brightness + widget. The brightness will be returned to the value you set on takeoff after one of the events has occurred.
With further AIR³ with adaptive brightness deactivated, you will get the same behavior as just described with AIR³ 7.2, but you can also use the button to increase the brightness instead of the brightness + widget.
With new AIR³ with activation of adaptive brightness (default setting), the system will calculate the best brightness value. At any time, you can increase the brightness by pressing the button or the brightness + widget. Once XCTrack sets the backlight to normal intensity, the new value will be determined by the system based on the lighting conditions.
Thanks to this “Brightness of the display” widget, you can always have a clear info on the exact level set either by the system, or XCTrack.
Next section
