This page describes the Tracklogs menu of XCTrack. Check the other sections to lean more about the different features of XCTrack.
Videos have been produced to explain the different features of XCTrack Pro. Check the videos tuto page to learn quickly how to use XCTrack Pro.
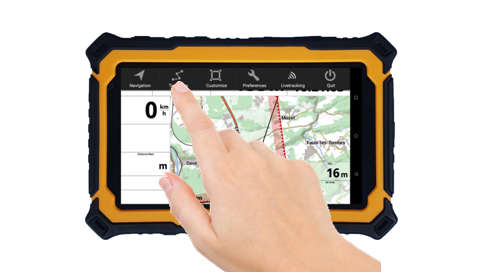
The Tracklogs menu allows you to obtain your local tracks log, the list of flights done and located in the Tracklogs folder of XCTrack.
Read below more details about your “Cloud flights” directly available on internet through your Xcontest account.

When you click on a particular track (IGC file), you get different information and options: stats, routes, Xcontest. You can also replay or delete the track directly with the 2 buttons on top.
Xcontest tab is the link to your “Cloud flights”. You can manually upload your track (if you didn’t set to be automatically uploaded with the Livetracking option in Preferences). This mechanism is based on your Xcontest account that you had to create at the beginning (see first steps) and is linked to your Pilot details in Preferences.
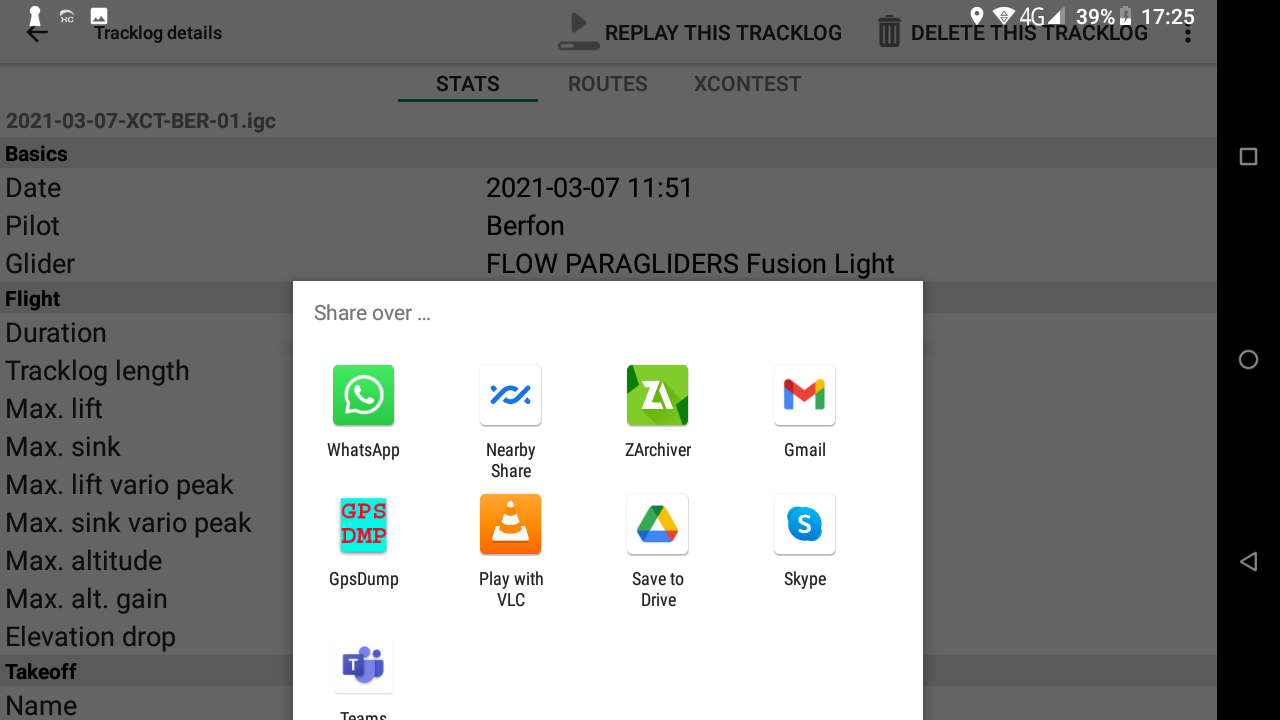
By clicking on the menu (3 dots top right), you can share your tracklog (you need to have installed a communication app such as Whatsapp, Gmail, Messenger, Google Drive, Skype, etc.)

Click on the + sign to read the details.
Stats gives you details about your flight: date (should be UTC time, based on GPS time), pilot name and glider (the one encoded in Menu/Preferences and stored in the IGC file), as well as various info related to the flight.
The interval used by XCTrack to calculate these info is 30 seconds. If a baro altitude is available, the baro altitude will be used. Otherwise, the calculations are based on GPS altitude.
Note that the statistics available on Xcontest are based only on GPS altitude. This means that the values may differ a little bit.
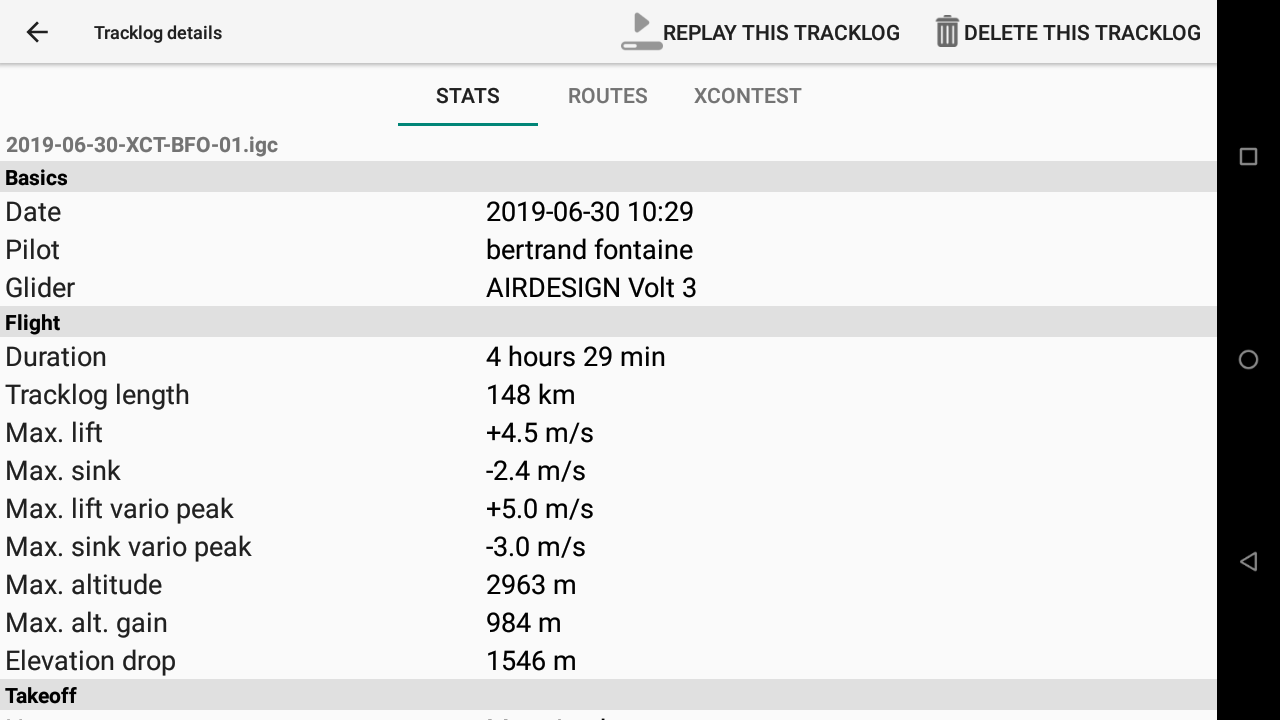
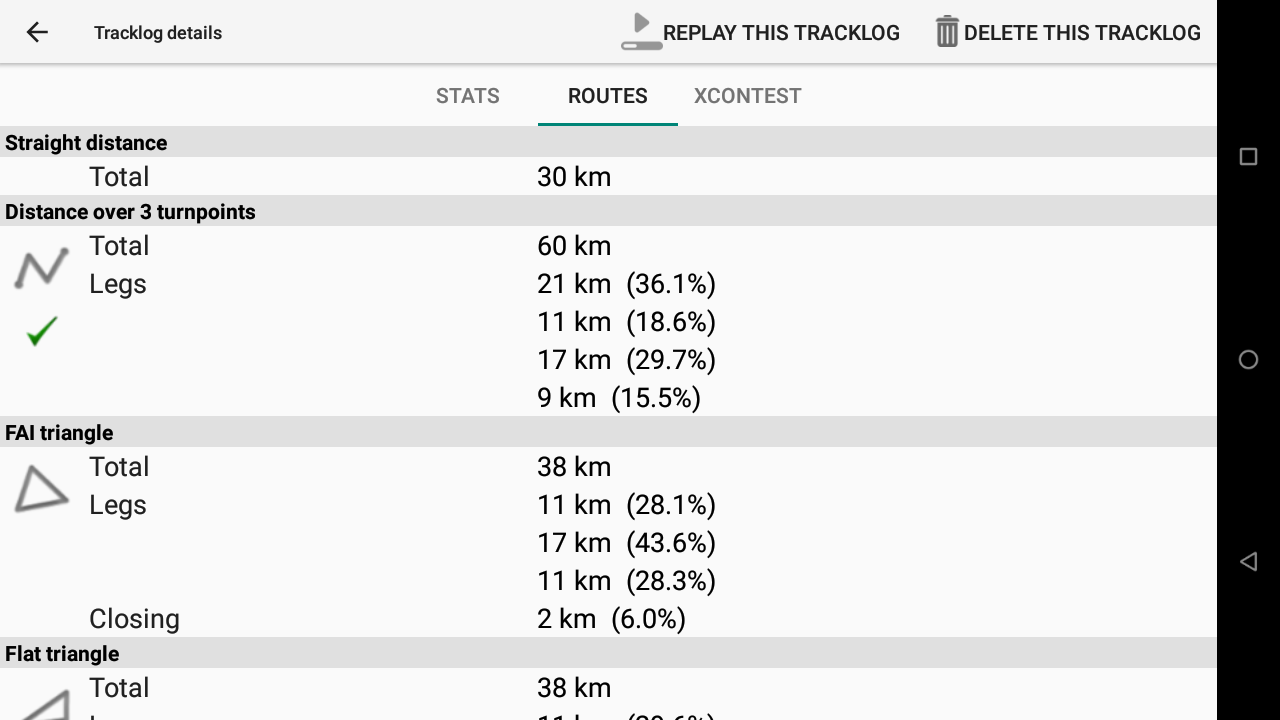
Routes is giving info about the distance flown through 4 different types of route: direct from takeoff to landing, distance over 3 turnpoints, FAI triangle and Flat triangle.
XCTrack uses a faster, less battery intensive optimization of routes, compared with the route optimization calculated on Xcontest site (once the track is uploaded on Xcontest site). So you may see small differences in the results if you compare the distances in XCTrack vs. the distances linked to your flight on Xcontest.org site.
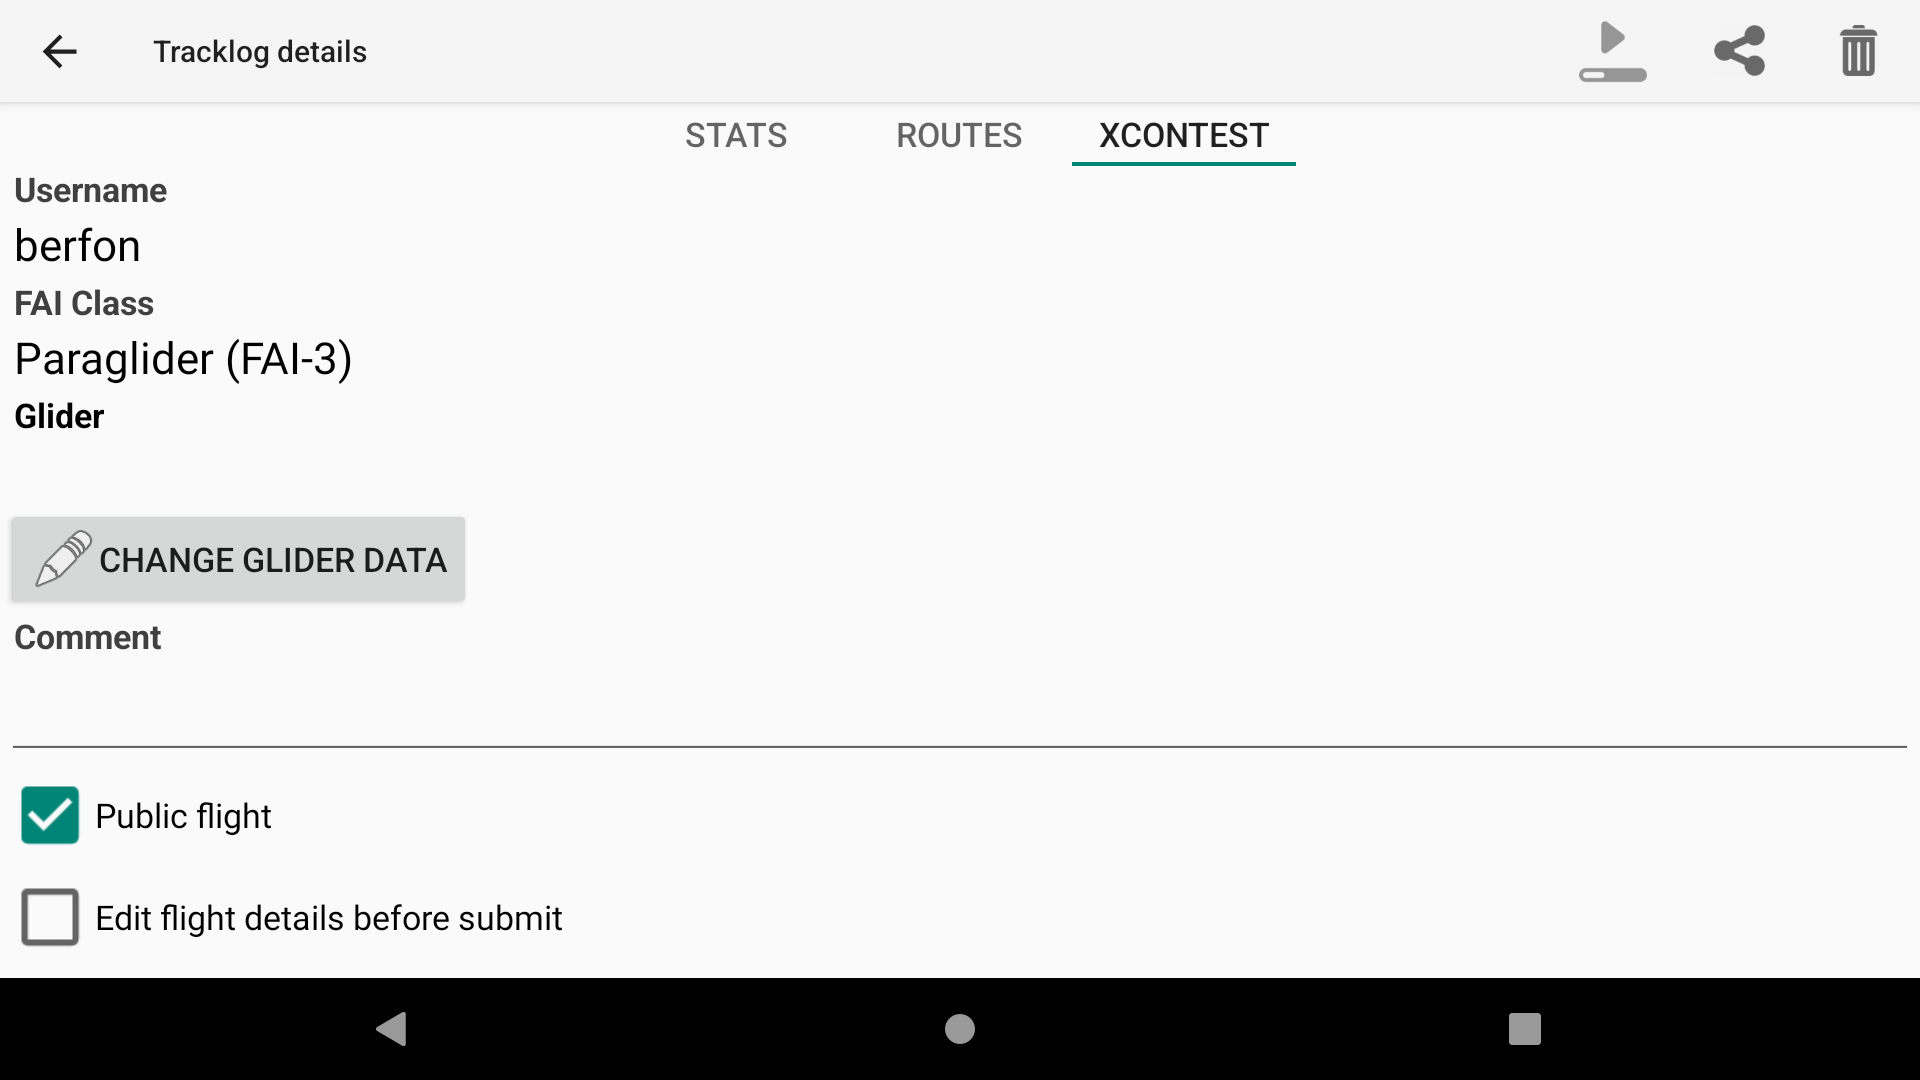
Xcontest tab is the link with your Xcontest account and your “Cloud flights”.
You can automatically claim your flights and “upload” them to your Xcontest account. Go to Menu/Preferences/Livetracking and enable “Claim to Xcontest automatically”. This will “upoload” your flights 1 minute after landing. This is actually done directly by Xcontest server. The flights claimed automatically are always public.
The flights are analysed by the server and only real flights will be claimed. If you want to test the Livetracking feature by using your car or by walking, the server will detect that this is not a real flight and you won’t be able to automatically claim to Xcontest.
If this option is not activated, you can still manually upload the flight using the upload button in the Xcontest tab.
If you want to participate to a contest, be careful to claim the flight during the claim period (14 days after the flight). If you are not participating to a contest, there is no claim period. You can always upload your flight at any time and the flight is inactive by default.
When you want to manually upload your flight, you can decide whether you want the flight to be visible by everyone (public) or only by you once you log into your account.
If you want to change your flight status (public <-> non public) or delete it from the cloud flights, login directly on Xcontest.org website and go to “Myflights”. You can edit or delete your flights that are linked to your account.
Before uploading the flight, you can change any data that would need edition (pilot, glider, username for Xcontest account), by clicking on the “change data” button.
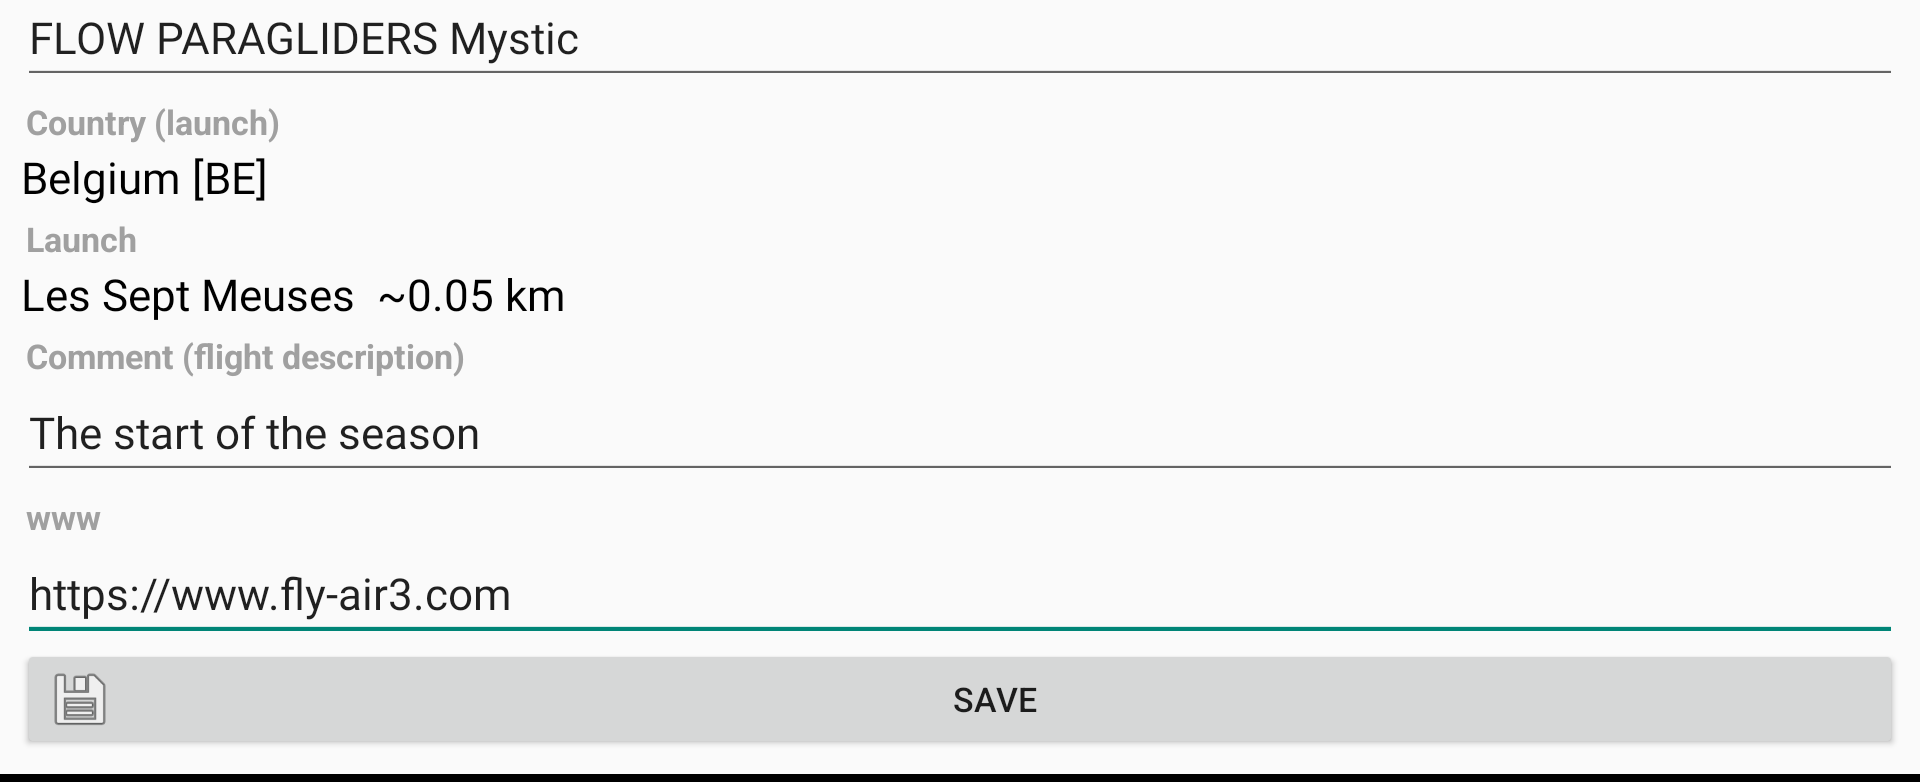
You can edit the additional details related to the flight before submitting.
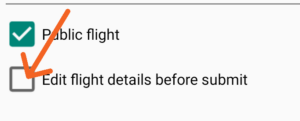
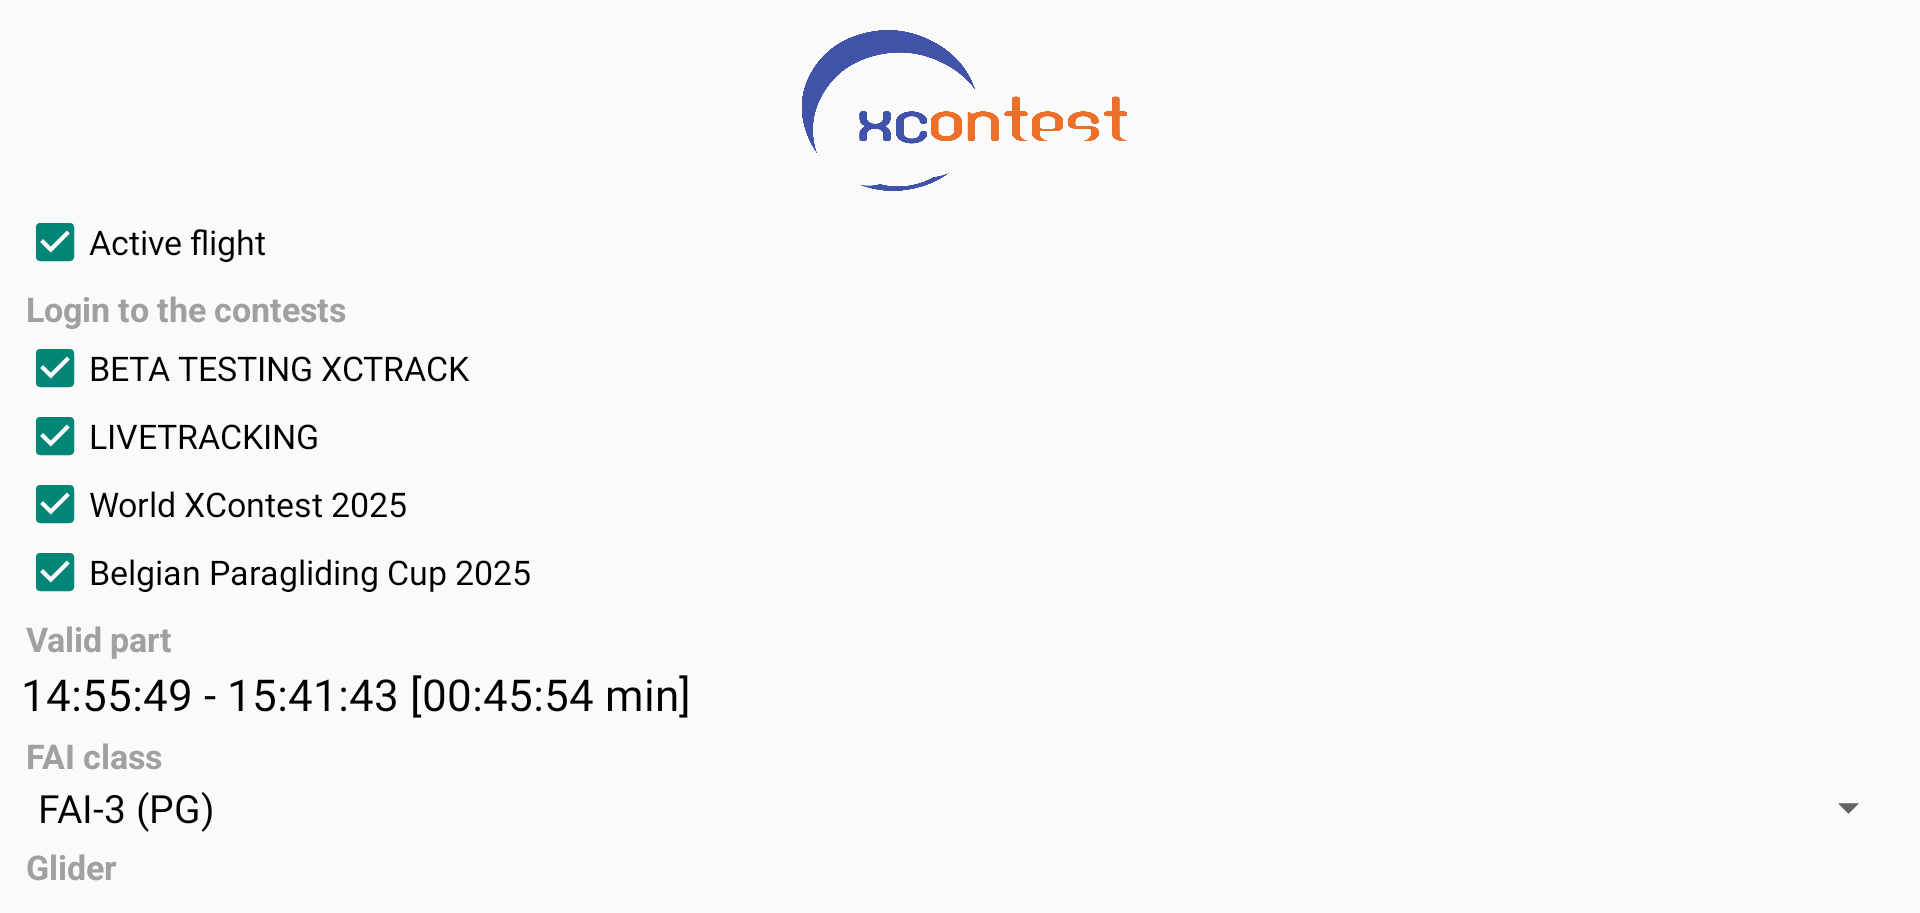
According to the contests for which you are registered on XCONTEST, you have the possibility to uncheck any contest for which you do not want the flight to be registered. You can also add a comment and a URL to be displayed in the flight description.
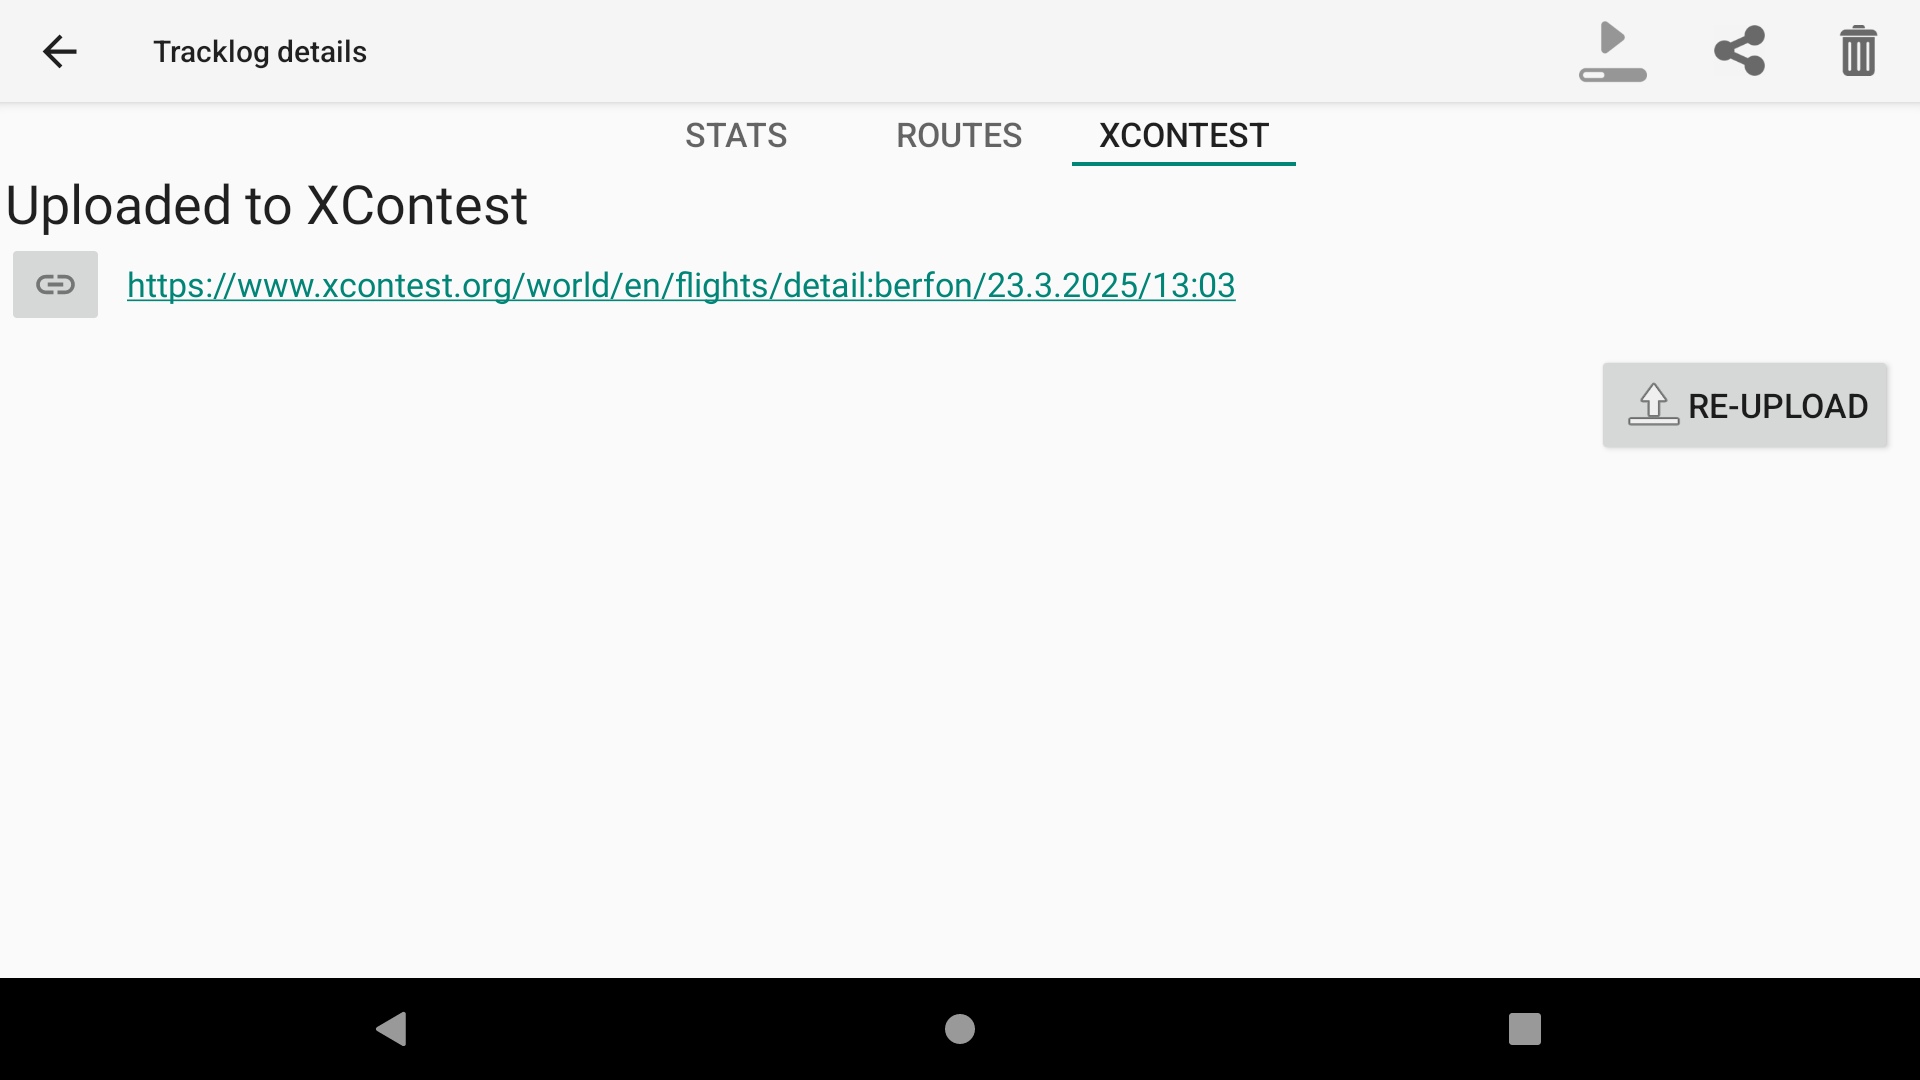
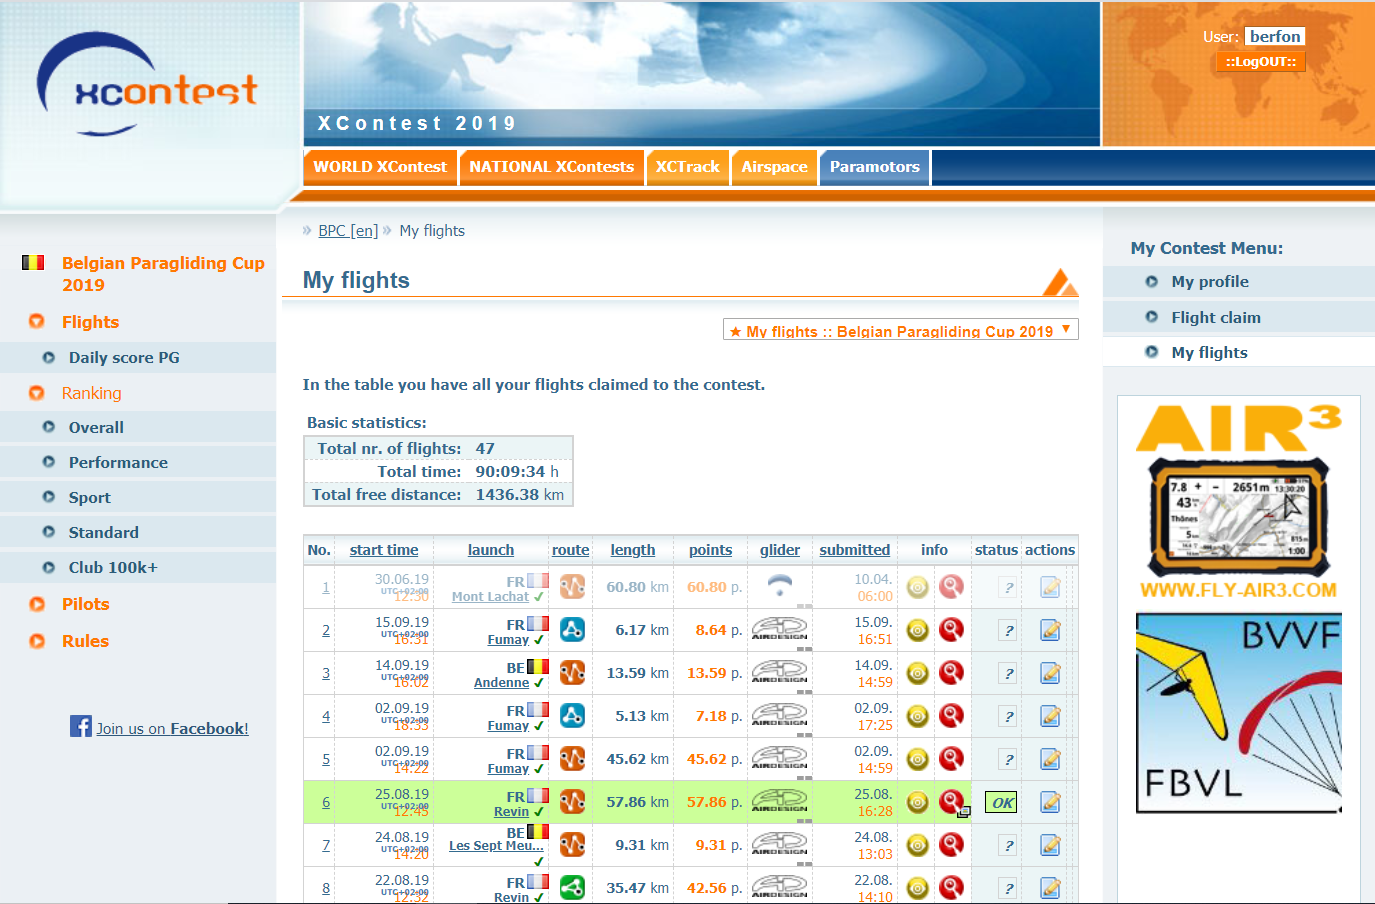
Once the flight has been uploaded, automatically (Menu/Preferences/Livetracking) or manually (see details above), you can see your flight by clicking on the link (requires an internet connection). This link will display your flight through the web browser.
Note: if you want to re-upload the flight (with different glider i.e.) from XCTrack, click on Re-upload and you will get a window asking if you want to upload again or not.
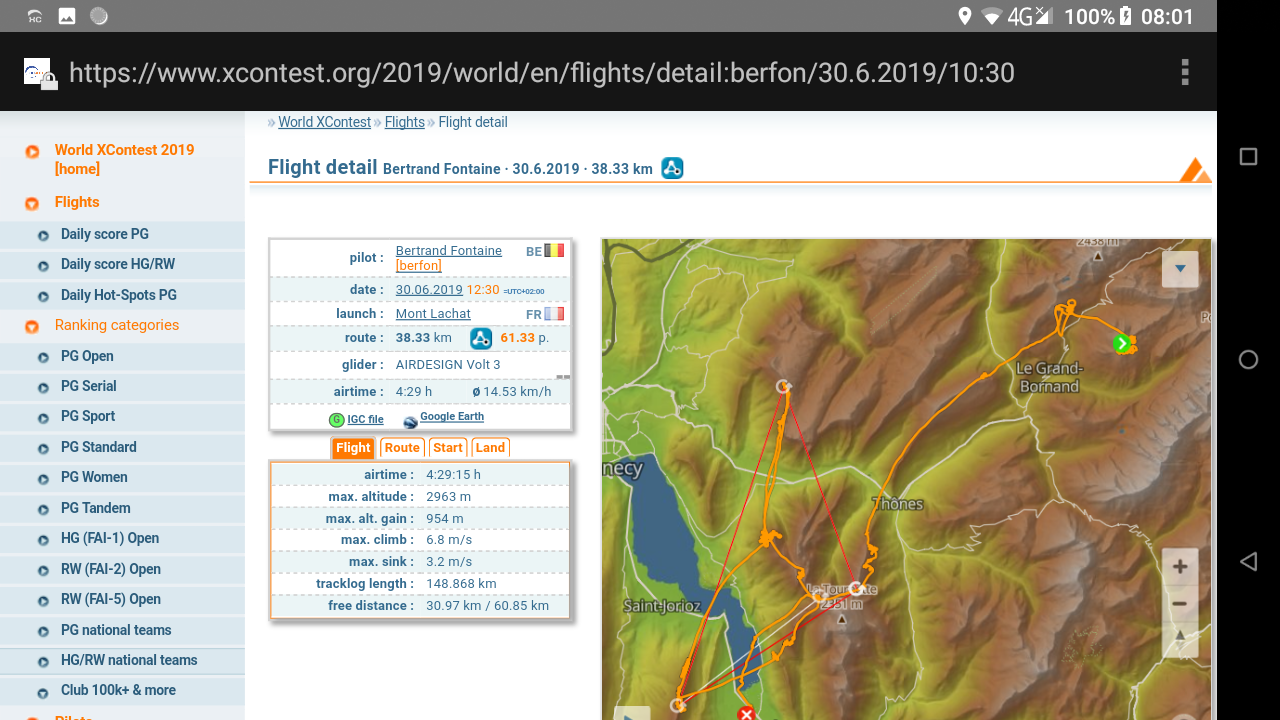
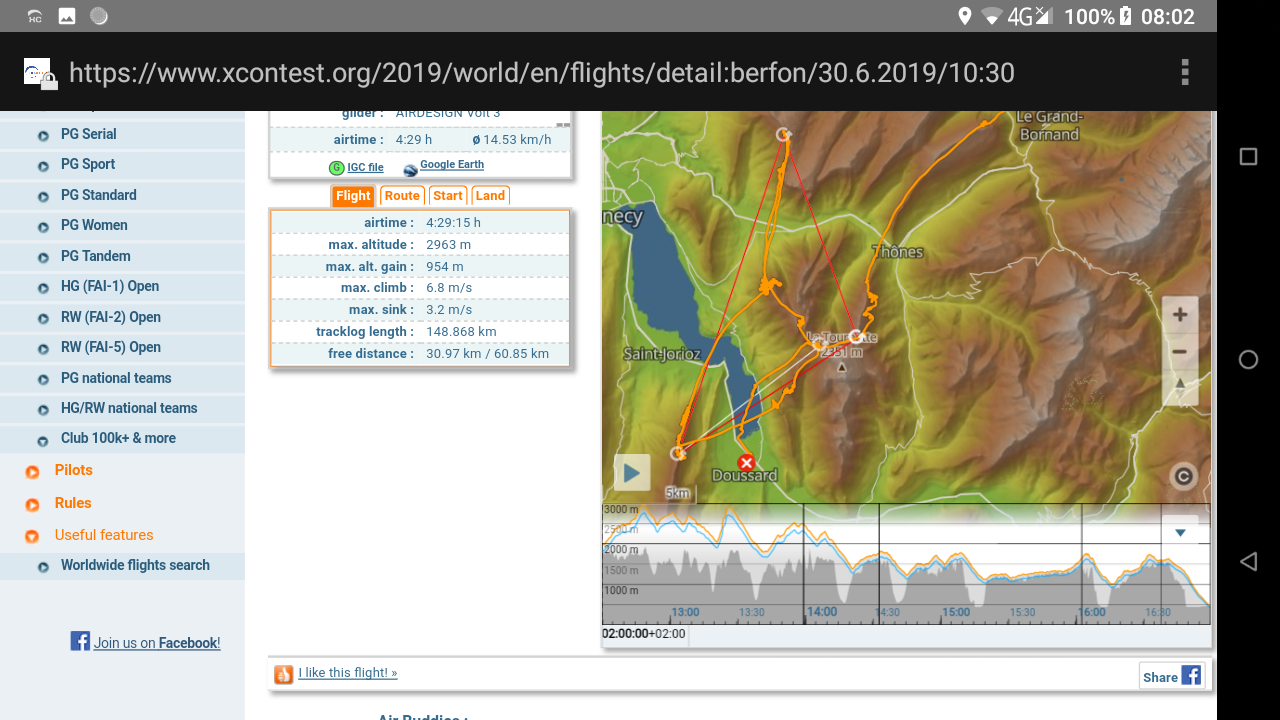
You can also go to the Xcontest.org website and connect to look at all your flights.
While you are conneted to your XContest account through a browser, you can also claim a flight by uploading the corresponding IGC file. However, note that this method is not making a link between the track stored in your AIR³ and the uploaded track on Xcontest server. Therefore, you may have differences between your local tracklogs and your “Cloud” tracklogs. In addition, the Xcontest tab in Tracklogs will not contain a link to your track uploaded to easily view it in your browser.
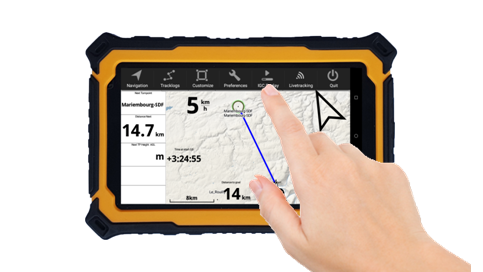
If you click on “replay this tracklog”, a new menu “IGC replay” appears in the menu. This menu allows you to change the IGC replay settings.
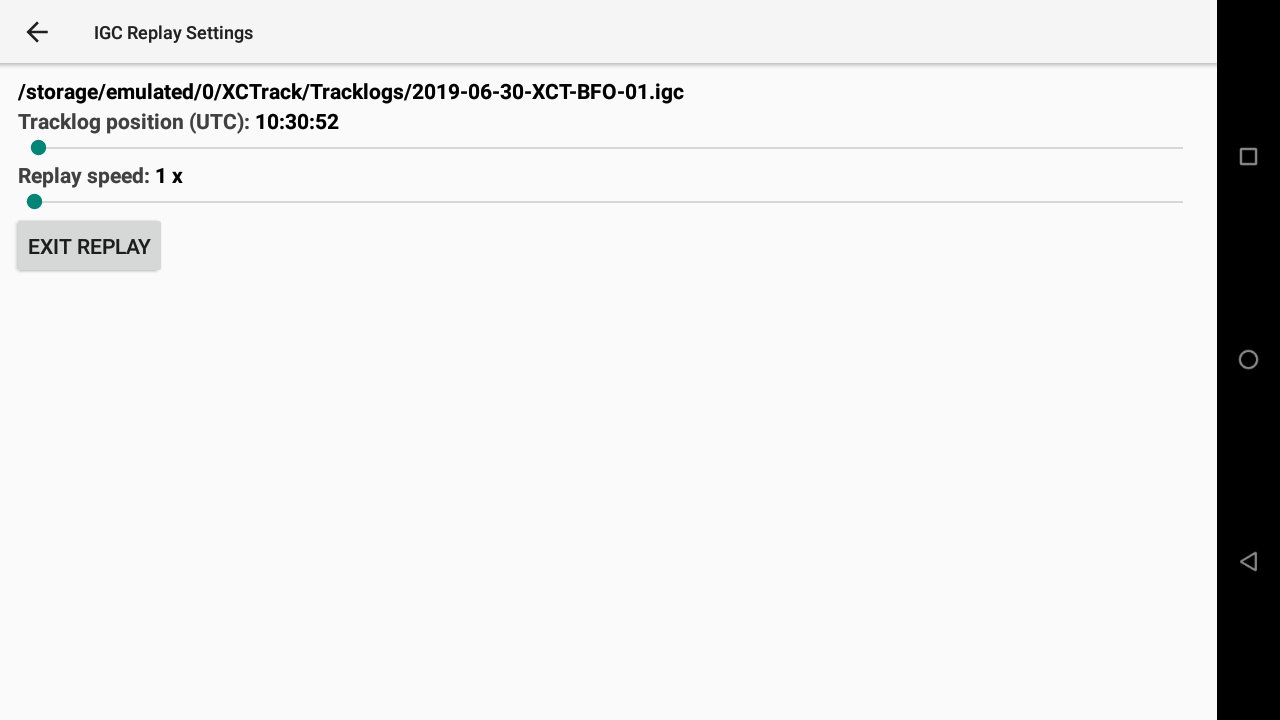
In IGC replay settings, you can decide to jump directly to a given part of your flight (tracklog position), or increase the speed of the replay.
If you want to quit the replay, just click on the “Exit replay” button.
If you replay a track from the Tracklogs, the date of the track is corresponding to the flight date, while the schedule coming from airspace.xcontest.org is for the near future. If you replay an old track and use recent information coming from airspace.xcontest.org, the information are not supposed to be valid for such flight.
When the airspaces are not updated, XCTrack switches to failsafe mode and displays all the airspaces as if they were all active. You can check the validity of airspaces by clicking on the country in the Web tab of Menu/Preferences/Airspaces. This will bring up a new window, containing the validity period on top.
Next section
